
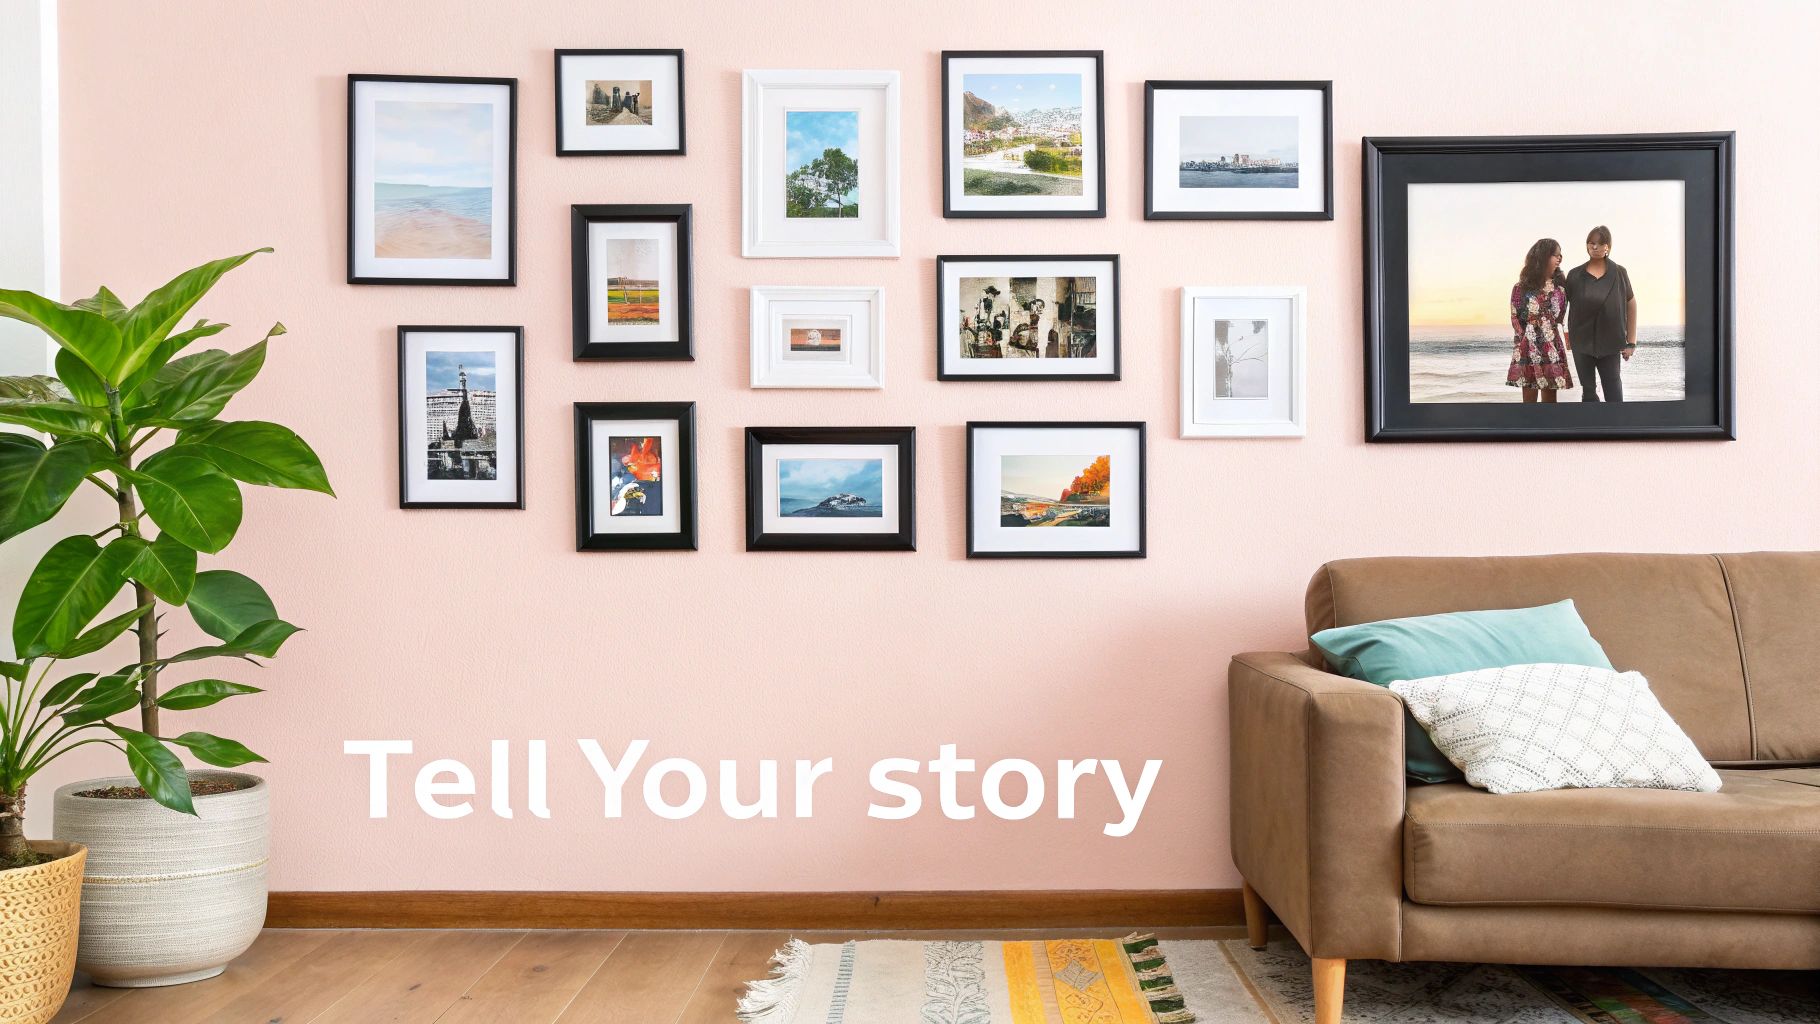
That blank wall staring back at you? It’s not just empty space—it’s a canvas waiting for your story to unfold. A thoughtfully arranged collection of photos can do more than decorate; it can transform a room, infusing it with personality, memory, and heart. It's how a house truly becomes your home.
The secret is finding a layout that feels like you. Are you drawn to the calming, structured beauty of a perfect grid? Or does a more organic, free-flowing mix of frames and moments speak to your soul? Forget rigid rules. Your only goal is to create something that sparks joy every single time you see it.
Before you hammer a single nail, take a moment to connect with your own aesthetic. Understanding how to find your home decor style is a powerful first step, ensuring your final arrangement feels like it was always meant to be there.
Pick Your Vibe
Your photo wall is your chance to curate a stunning focal point that showcases your travels, family milestones, and all those little moments that make you, you. It’s an inspiring opportunity to tell your story, your way.
There's a reason gallery walls are so beloved—they reflect the richness of our lives. In fact, research shows that being surrounded by meaningful personal photos can significantly boost feelings of well-being and positive self-identity. It’s not just decor; it’s a form of visual storytelling that nurtures the soul.
Popular Photo Wall Styles at a Glance
Feeling inspired but not sure where to start? This quick rundown of popular gallery wall styles will help you find the perfect match for your space and personality.
| Style | Best For | Key Feature |
|---|---|---|
| Symmetrical Grid | Formal spaces, modern decor, a cohesive look | Uniform frame sizes and precise, even spacing create a clean, polished feel of calm and order. |
| Asymmetrical/Salon | Eclectic decor, casual living areas, creative expression | A vibrant mix of frame sizes, shapes, and orientations arranged in a balanced but organic way. |
| Linear/Shelf | Renters, people who love to switch things up | Photos are displayed on picture ledges, allowing for effortless updates without a single new nail hole. |
| Spiral or Organic | Stairways, large or awkwardly shaped walls | Starts with a central anchor piece and flows outward, creating dynamic visual movement and intrigue. |
Each of these styles communicates a different energy. A symmetrical grid feels intentional and serene, while a salon-style wall has a spirited, collected-over-time charm. The best choice is simply the one that resonates with your spirit.
A gallery wall should be a deeply personal collection of things you love, that make you happy, and that tell the unique story of you and your home.
This guide is here to empower you to create a wall that feels intentional yet completely effortless. Let's get inspired and make something beautiful.
Choosing Your Photos and Perfect Frames
The real heart of a gallery wall isn't just the layout—it's the story you tell with the images you choose. Before you even think about how to arrange photos on a wall, take time to gather a collection that feels deeply personal and connected. This first step is everything; it sets the entire emotional tone for your space.
What feeling do you want to evoke? A series of black-and-white photos can feel timeless, dramatic, and instantly cohesive. On the other hand, a palette of warm, vibrant colors can fill a room with infectious energy and joy. There’s no right or wrong answer—only a theme that truly resonates with you.
Curate Your Collection with Intention
Practical Action Point: Start by pulling together more photos than you think you'll need. Lay them all out on the floor and look for a common thread. Is it a color, a subject, a feeling? A blend of vertical and horizontal images is what gives a gallery wall its wonderful visual rhythm, keeping your eyes dancing across the display.
The most compelling gallery walls feel collected over time, not decorated in an afternoon. A mix of professional shots, candid phone snaps, and even meaningful mementos like ticket stubs or postcards adds incredible layers of personality.
Now, let's talk about frames. The right frame does more than just hold a picture; it becomes part of the art itself.
- Modern & Minimalist: Sleek black, white, or natural wood frames create a clean, contemporary feel that lets your photos shine.
- Ornate & Eclectic: If you love more character, a mix of vintage-inspired, metallic, or rustic frames can add a beautiful sense of history and depth.
For a look that feels balanced, not chaotic, I recommend sticking to a maximum of three different frame styles or finishes. For instance, pair simple black and white frames with a single metallic accent, like gold or silver. This approach gives you lovely variety while still feeling polished and intentional.
You can explore a wide range of inspiring options in our curated home decor collection to find pieces that perfectly match your vision. Your walls are waiting to tell your story.
Mapping Your Layout Without a Single Nail
This is where your vision truly comes to life—not on the wall, but on the floor. Before you even think about picking up a hammer, mapping out your arrangement is the secret to a flawless, stress-free gallery wall. This isn't about guesswork; it's about intentional, creative design.
The most foolproof method, one that professional stylists swear by, is creating paper templates. Just trace each of your frames onto kraft paper, cut them out, and use painter's tape to arrange the shapes on your wall. This gives you total freedom to play with the layout, step back, and tweak things until it feels perfect.
The Art of Visual Balance
Your largest piece is your anchor. Here’s a pro tip: instead of placing it dead center, position it slightly off-center. This simple trick is rooted in the "Rule of Thirds," a principle in art and photography that creates more tension, energy, and interest than a perfectly centered composition.
Once your anchor is set, place your second-largest piece diagonally from it. This instantly creates a sense of balance and flow. From there, your job is to fill in the spaces around these two key pieces with your smaller frames.
Practical Action Point: Before hanging, mark where the nail should go directly onto your paper templates. This removes all guesswork and ensures perfect placement every time.
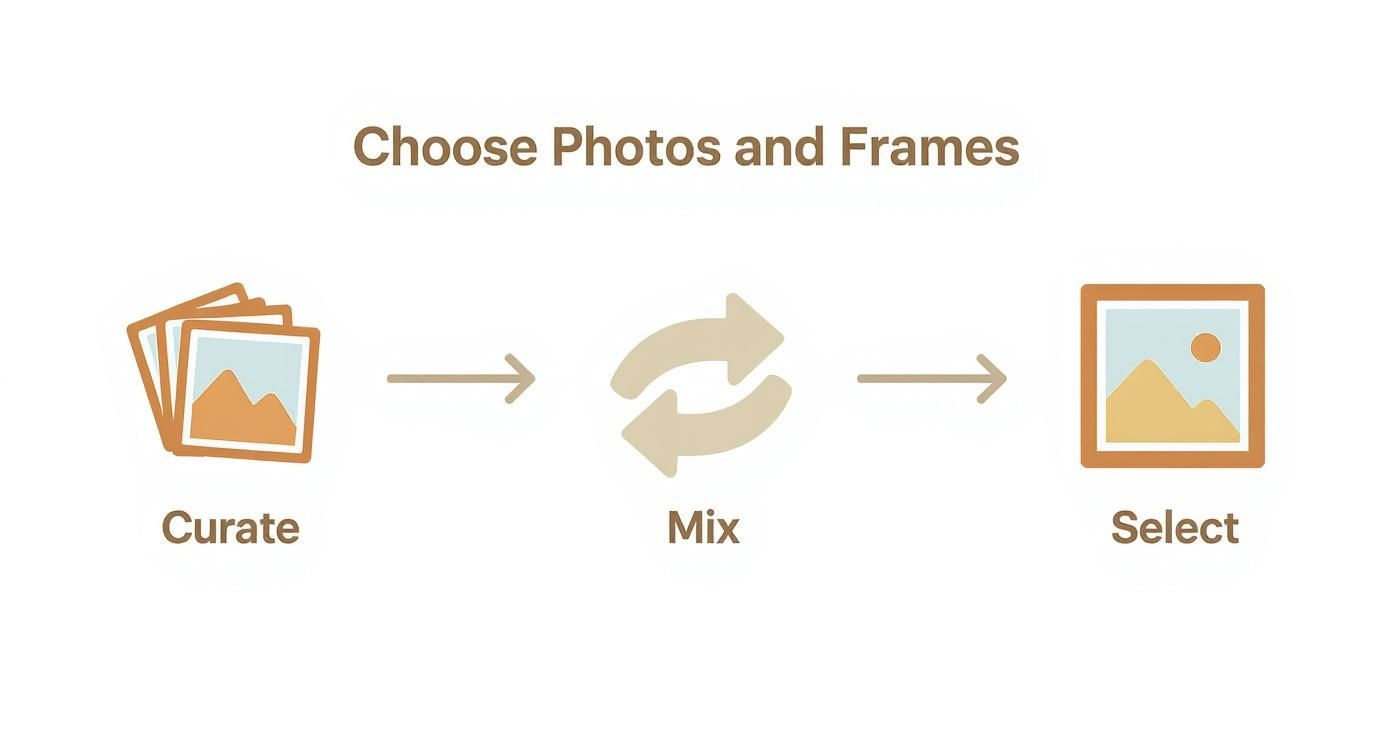
This visual highlights that a successful layout starts with thoughtful curation. When you do this groundwork first, the mapping process becomes an intuitive and joyful act of creation.
Achieving a Polished Finish
The final touch that separates an amateur arrangement from a professional one is spacing. A consistent gap between your frames is what creates a clean, cohesive look, tying everything together beautifully.
The golden rule for spacing is to maintain a gap of 2-3 inches between each frame. This buffer gives each photo room to breathe while making sure the collection feels like a single, unified piece of art.
Using the paper template method is perfect for getting this right. You can experiment, shift things around, and live with the layout for a day or two. It builds confidence, so when you finally pick up that hammer, you know you’re creating something you absolutely love.
Hanging Your Gallery Wall with Confidence
With your paper templates perfectly placed, you’ve honestly done the hardest part. Now for the thrilling moment—turning that map on your wall into a permanent, beautiful display. This final step is all about execution, and having the right tools makes all the difference.
Practical Action Point: Gather your essentials before you begin: a hammer, measuring tape, and a reliable level. Don't skip the level! Nothing throws off the entire look of a gallery wall faster than a single crooked frame.
Choosing the Right Hardware
Your wall type will determine the hardware you need. For standard drywall, a picture-hanging nail is usually sufficient for smaller frames. If you’re hanging something heavier, use a wall anchor for complete security. For plaster walls, pre-drilling a tiny pilot hole is a great way to prevent crumbling.
Not sure where to put the nail? The toothpaste trick is genius: put a tiny dab of toothpaste on the hanger on the back of your frame, then gently press it against the wall. The toothpaste leaves a perfect little mark right where your nail should go.
When hanging larger or heavier frames, always use two hooks spaced apart. This provides better support and, just as importantly, keeps the frame from shifting and going crooked over time.
To Nail or Not to Nail
How you hang your photos often comes down to your living situation and personal preference. While traditional nails give you a sturdy, long-term solution, they aren’t your only option.
Damage-free adhesive strips are a game-changer, especially if you're renting or you love to switch up your decor often.
- Traditional Nails/Hooks: The best bet for a permanent, secure hold, especially for heavier art.
- Adhesive Strips: A fantastic, damage-free choice for lighter frames. Just be sure to check the weight limits on the package.
By picking the right method and taking your time, you can bring your design to life with confidence. The result will be a polished, professional-looking gallery wall that you’ll be proud to show off.
Creative Gallery Wall Ideas to Inspire You
Forget the traditional grid for a moment. Your gallery wall is a chance to design a feature that’s completely you. It’s all about letting your personality shine through and turning an ordinary space into something that feels special and collected.
Let's explore a few ideas that break the mold.

The Staircase Gallery
A staircase is often overlooked, but it’s the perfect canvas for a dynamic, flowing arrangement. Instead of fighting the angle, work with it. Let your photos climb right alongside the stairs, creating a beautiful and natural sense of movement that tells a story with every step.
Practical Action Point: To create a cohesive look on a staircase, align the center of your photos with an imaginary diagonal line that runs parallel to the stairs, about 60 inches above the steps.
Beyond the Photo
Who says a gallery wall must be just photos? Adding different elements brings in texture and depth, making your display far more engaging.
Consider weaving in a few of these:
- Small Mirrors: They add sparkle and reflect light, which instantly makes the space feel bigger and brighter.
- Floating Shelves: A small shelf is perfect for holding a framed photo next to a meaningful trinket or a tiny plant.
- Meaningful Quotes: A beautifully framed quote can work as a powerful centerpiece or a subtle accent.
Even a home office can come to life with this mixed-media approach. For more inspiration, check out our guide on how to decorate your work-from-home office for a space that feels both productive and personal.
The most interesting gallery walls tell a story. They feel collected and curated, blending photos with objects that hold personal meaning and add unique character to the arrangement.
Think about a theme, like a travel wall with maps, tickets, and photos from your adventures. Don't be afraid to experiment—your wall is your canvas, so have fun with it!
Common Photo Wall Questions Answered
Even with the best-laid plans, a few questions can pop up right when you’re ready to start. Let's clear up the most common ones so you can tackle those final details with total confidence.
How High Should I Hang My Gallery Wall?
This is the number one question, and there's a simple trick designers swear by: center your entire arrangement at eye level. For most people, the very middle of your whole collection should be somewhere between 57-60 inches from the floor. This is known as the "gallery height rule" because it’s the standard used in museums to ensure art is comfortable to view.
If you're hanging photos above furniture like a sofa, the rule changes slightly. Aim to leave about 6-8 inches of breathing room between the top of the furniture and the bottom of your lowest frame. This creates a visual anchor, making the furniture and art feel connected.
Should All My Frames Match for a Gallery Wall?
Absolutely not! This all comes down to the vibe you're going for. Identical frames create a formal, modern look—perfect for symmetrical grid layouts.
But mixing up frame styles, colors, and textures can create a much more eclectic and dynamic display. The key to making a mixed-frame wall look intentional is to find one unifying element. Maybe it's a consistent color family (like all black, white, and wood tones) or a single accent color that pops up in a few frames.
Can I Arrange Photos on a Wall Without Nails?
You sure can. Damage-free options are a lifesaver for renters or anyone who loves to switch things up without committing to holes in the wall.
- Adhesive Strips: My go-to for lighter frames. They're surprisingly strong and come off clean.
- Picture Ledges: These floating shelves are amazing. You can display a whole collection of framed photos and easily swap them out, layer them, and rearrange them whenever the mood strikes.
For an even deeper dive, this expert guide on arranging photos on walls is a fantastic resource for building confidence with more pro-level tips.
At Mesmos, we believe your home should be a sanctuary filled with things that tell your story. Explore our collection of inspiring home decor to find the perfect pieces to complete your vision. Discover meaningful decor at Mesmos.
